 |
| Email Home Page |
|
| Email Home Page |
|
|
|
Part 5
Some people will want to add colors and textures to their Sketchup models. This is easily done with the PAINT BUCKET tool. When applying colors or textures, you can choose to apply it to one surface at a time or to all selected surfaces. For a speaker enclosure, you may want to apply a carpet texture to the outside while leaving the interior a natural color. Generally, to edit a 'group' or 'component', you must enter that object. When painting simple groups or components, you can apply a color or texture but it will be applied to all surfaces. To apply different colors or textures to the various surfaces, you will have to enter the group or component. If you have nested groups or components, you will have to go deep enough into the group or component to get to the object that you want to edit. The following enclosure uses components for the sides and top/bottom. That allows them to be edited at the same time. The front and back are simply groups. Since there ie only one of each, there is no reason to make them a component.
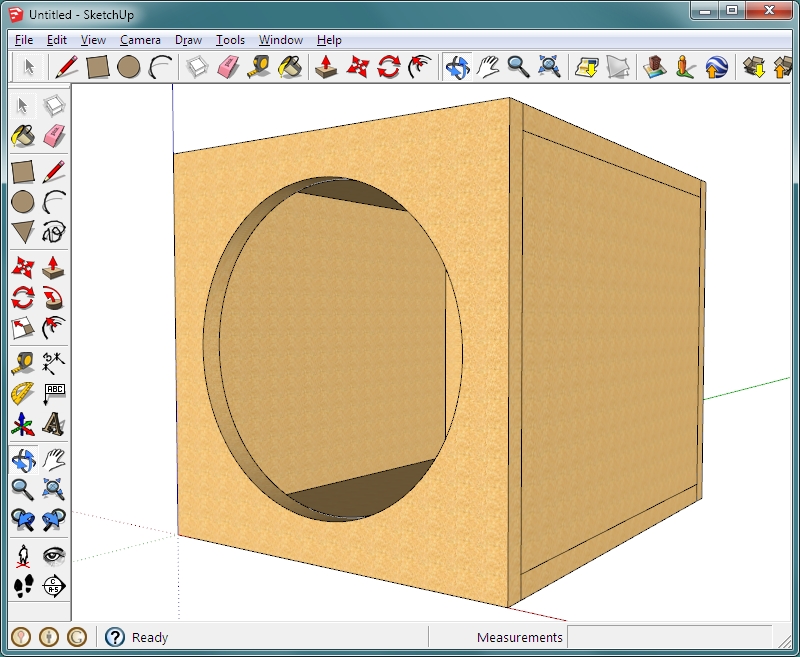
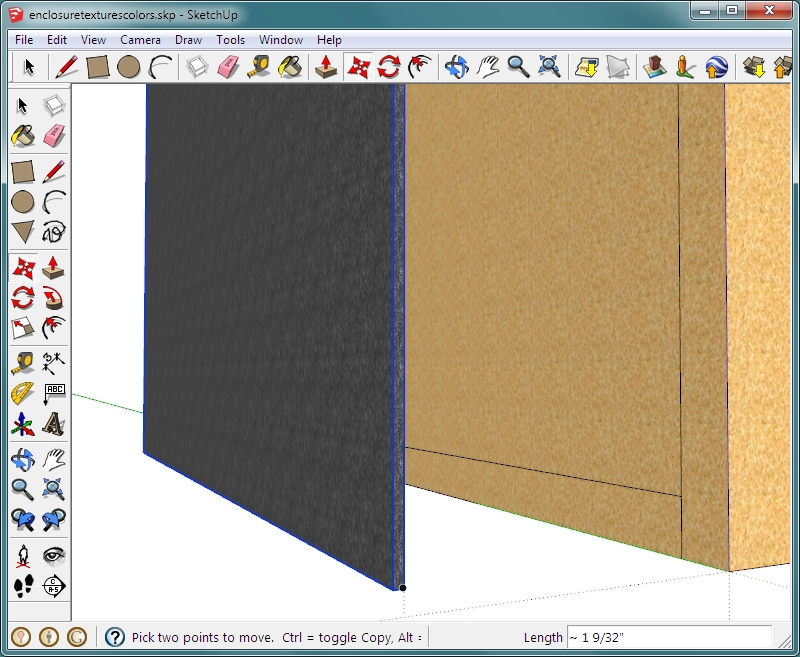
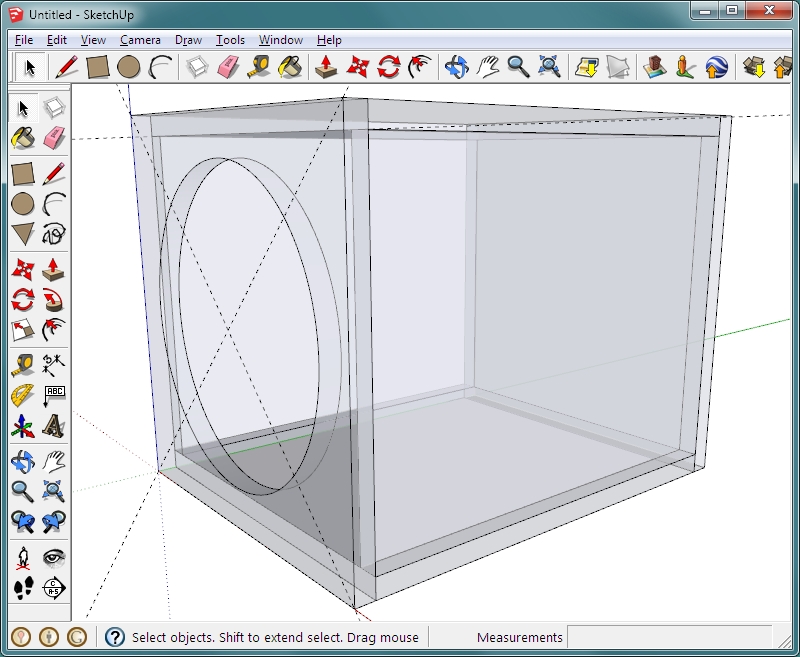 One thing that you will find when using copied components is that you have to mirror them if you want to have the surfaces with the same orientation. For example, we typically move a duplicate directly across (like we did for the sides of the enclosure). This makes the inside of one board the outside of the other board. Below, the side component was painted on only one surface (the outside of the right side of the enclosure). If you look at both images, you can see that applied it to the outside surface of the right side and the inside surface of the left side. To correct this, you can right-click the left side and choose FLIP ALONG >> COMPONENT'S RED (AXIS). You use the red axis because that's the axis that goes through the sides that you want to flip. If you used the green or blue axis, it would not reverse the sides
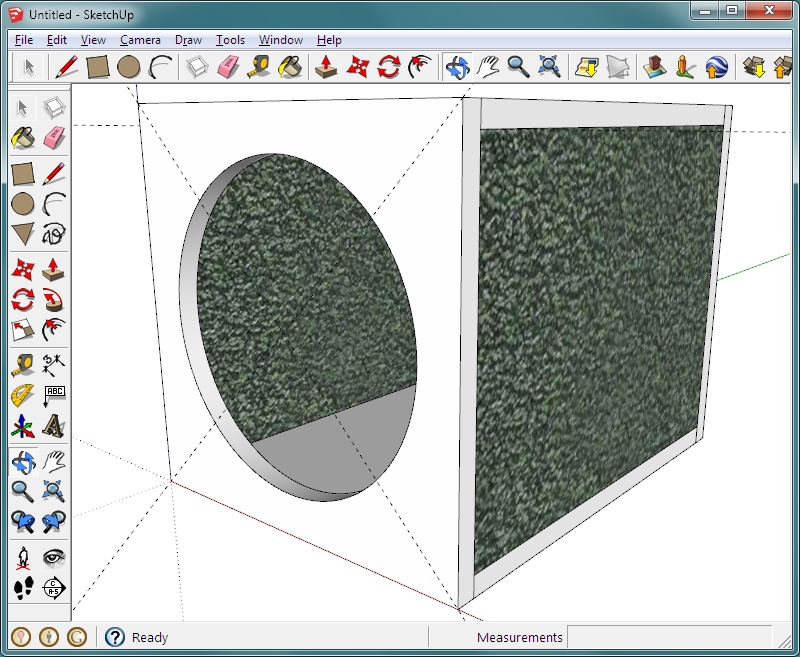
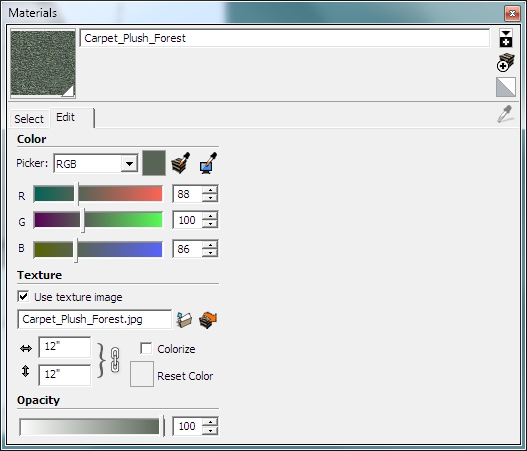
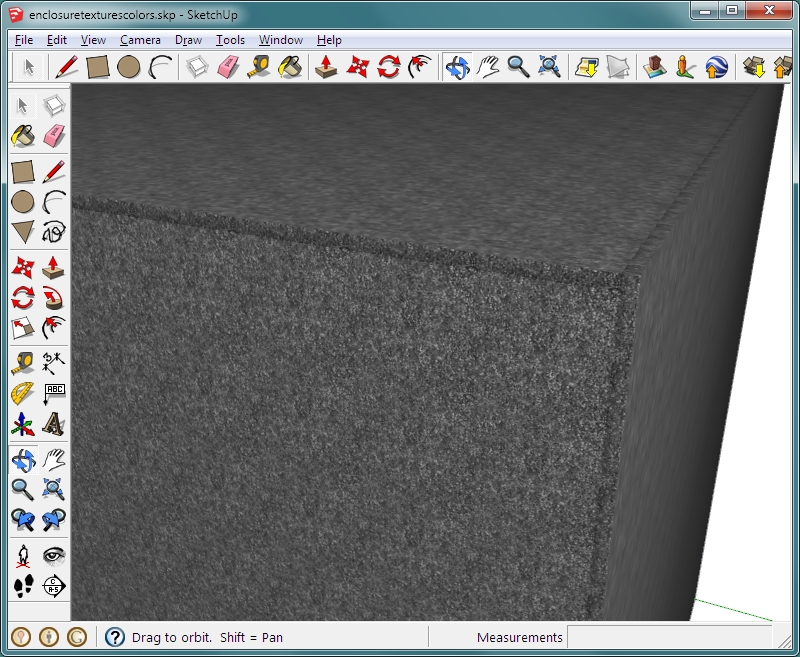
 Looking at the texture above, it's obvious that the pattern is too course. Many people use Sketchup to layout buildings/homes. For a large model, the large texture is acceptable. For something this size, the texture needs to be modified. In the MATERIALS dialog box (which should open when you click on the paint bucket tool), click the EDIT tab. You can see the pattern size is set to 12". Reduce that to 1". If that's not exactly what you want, make it whatever size that you prefer. You can see a repeating pattern. That's from small sample sizes. Larger patterns can be used. Those can be downloaded from the 3D Warehouse. Search for 'carpet'.
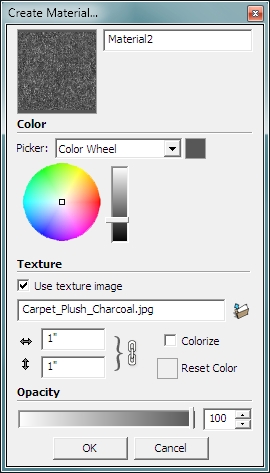
 When you change a pattern, it changes it for all surfaces covered by that pattern. If you don't want all surfaces to be changed but want the same pattern, you can create a new color or texture. If you look in the upper right corner of the materials dialog box, you can see several buttons. Hold your mouse over them. This will reveal their function. Click on the CREATE MATERIAL button and another dialog box will open. This will allow you to edit the material. It will default to the last texture that you used but a different color or texture can be selected if desired. If you want to change the color, using the COLOR WHEEL (under PICKER) is probably the simplest. Choose the color then use the sliders to adjust the intensity. If you want gray, click the white area and dim it down so that it's gray.
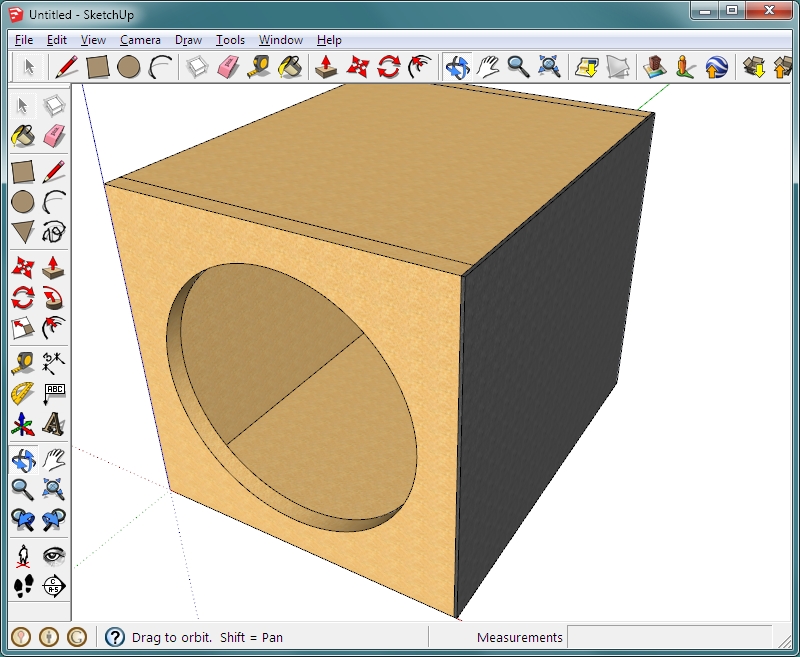
 As you can imagine, it can take a while to do all of the individual edges, especially if you don't have the same color on all sides of the boards. Below all sides of all boards were covered with a modified WOOD >> OSB pattern.
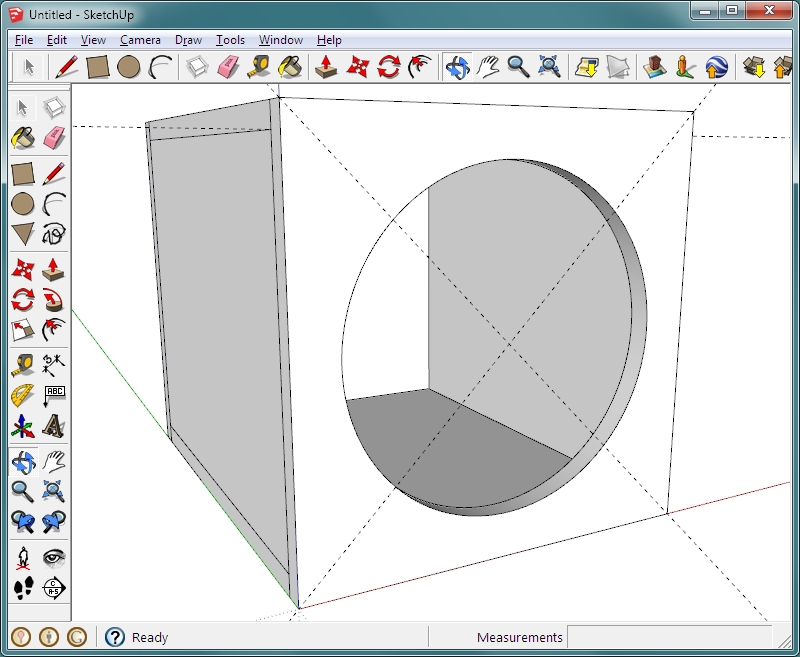
 Let's make panels to cover the box. I don't know if this saves any time but it is a way to show other tools. Let's make the first panel for the sides of the enclosure. Draw a rectangle that's the same size as the side panel and pull it out 1/8" (0.125). Then triple-click it to select all of it and make it a COMPONENT named 'cover side'. In some instances, the new rectangle may not appear to have been created if there is a pattern on the object behind it. After you pull it, it will show up normally. If you want to prevent any confusion, you can wait and add the textures to the wood after the cover panels are made. This is the 1/8" panel covering the side of the box.
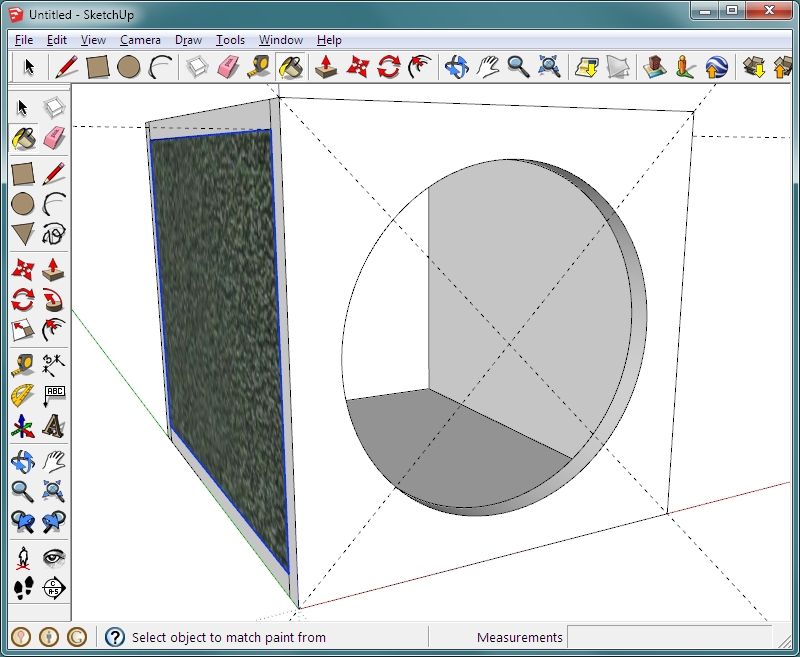
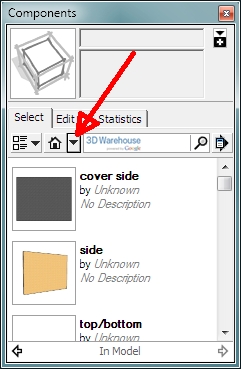
 The panel was applied to the right side of the enclosure. Since it's a component. It's in the library. Change the camera view to LEFT. Go to WINDOW >> and click COMPONENTS. Use the drop-down arrow and select IN MODEL. This will show only the 'components' that are in your model.
 Sometimes it's difficult to place an object that you pull from the library. To make it easier, zoom in fairly closely on one corner of the object that you want to attach the component to. This will limit the area in which the component will try to move and will allow you to see the various points better. Fortunately, here, the left front corner is on the intersection of the axes but this would work just as well when snapping to any corner. Click the COVER SIDE component in the menu. When you move the cursor back onto the stage, the cover will appear. Click to drop it. Select the MOVE tool and grab the corner that you want to connect to the enclosure (the inside corner of the cover to the outside corner of the enclosure). Move it to the enclosure. and drop it. If you were to inadvertently grab the outside corner of the panel and move it to the outside corner of the enclosure, Sketchup would be confused and would try to show both the surface of the panel and the surface of the enclosure.
 There's no need to show the making of the other panels since it's the same process. You should, however, know that when you make panels that go over the edges of other panels, you must go beyond the enclosure to the edges of the other cover panels. This shows the back of the enclosure. When you make the panel for the front of the enclosure, you would have to make the cutout. If the baffle was a group, you could copy the group and edit it to make it 1/8" thick and then cover it in the texture of your choice.
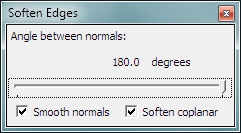
 Above, you can see that the panels show lines at the corners/edges. To remove these, use the SMOOTH EDGES function. Get into the component or group and use ctrl-a to select all faces. Right-click the selected object and select SOFTEN/SMOOTH EDGES. For this, you will need to tick both boxes. You will also need to move the slider to the highest setting to remove the lines.
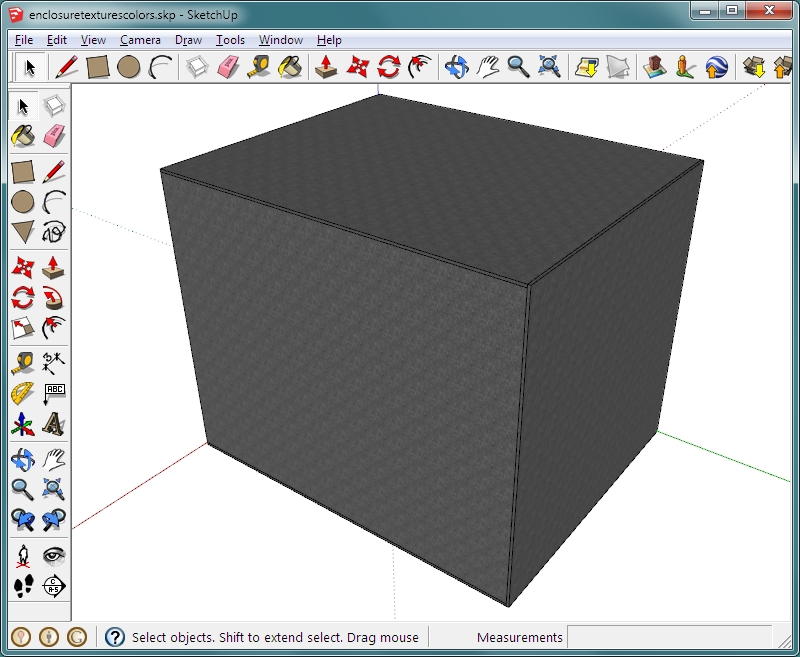
 The edges should look something like the image below after smoothing.
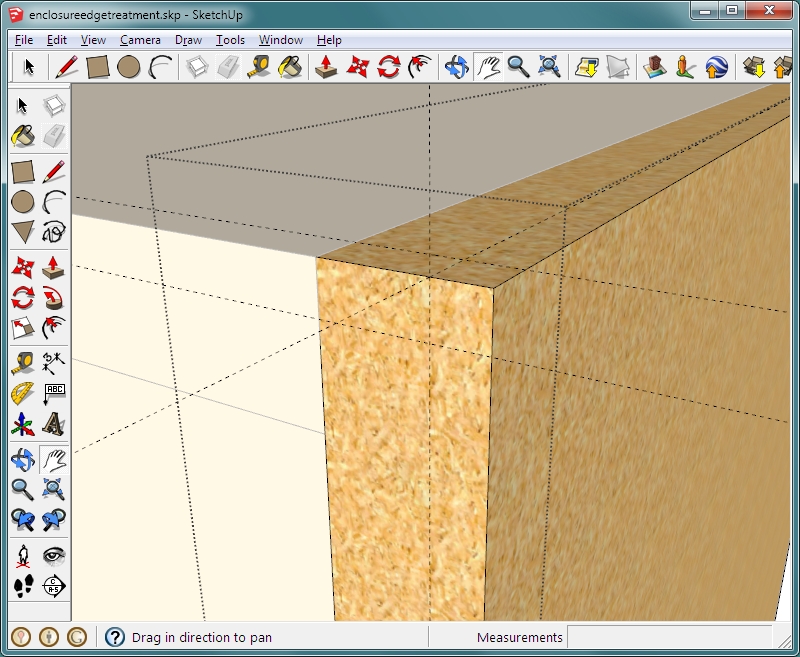
Important: If you want to simply round the edges on the enclosure, you can do that as well. In the image below, the group that makes the back of the enclosure is open and guide lines have been placed 1/4" from each outside edge. These will give us points to lock onto when we use the ARC tool.
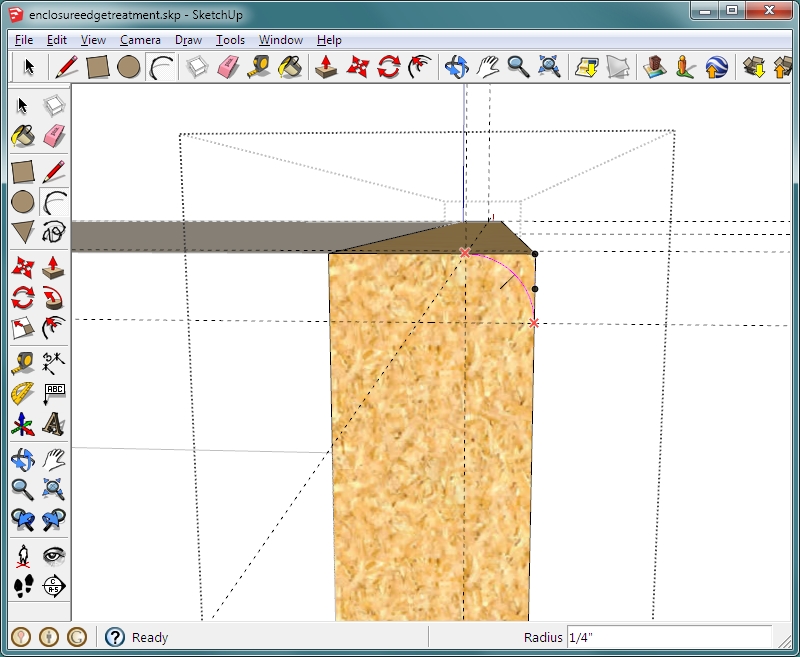
 Select the ARC tool and click at the two points where you see the pin Xs in the image below. Then move the mouse towards the outside corner. It will snap to several positions. One will say 'tangent at vertex'. This is where you want to click for this application. The arc should be placed when you click. This is sometimes easier if you zoom in closely and have the edge relatively square to the viewing angle.
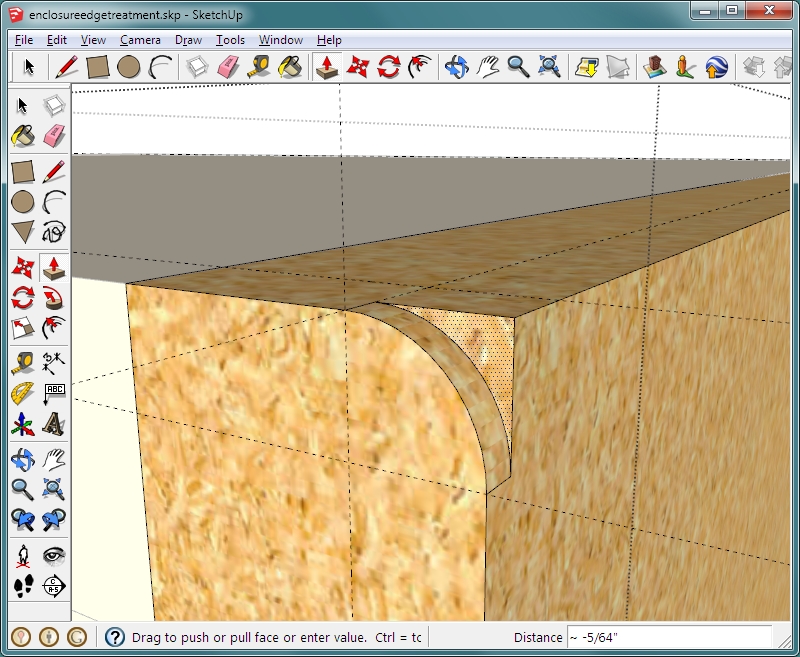
 Select the PUSH/PULL tool and push the outside edge away from the outside edge. This is easier if you're viewing this from an iso type angle. You could push the corner to the other side of the enclosure but since we know the dimensions of the enclosure, we can simply enter the width (14) and that will remove the entire outer corner.
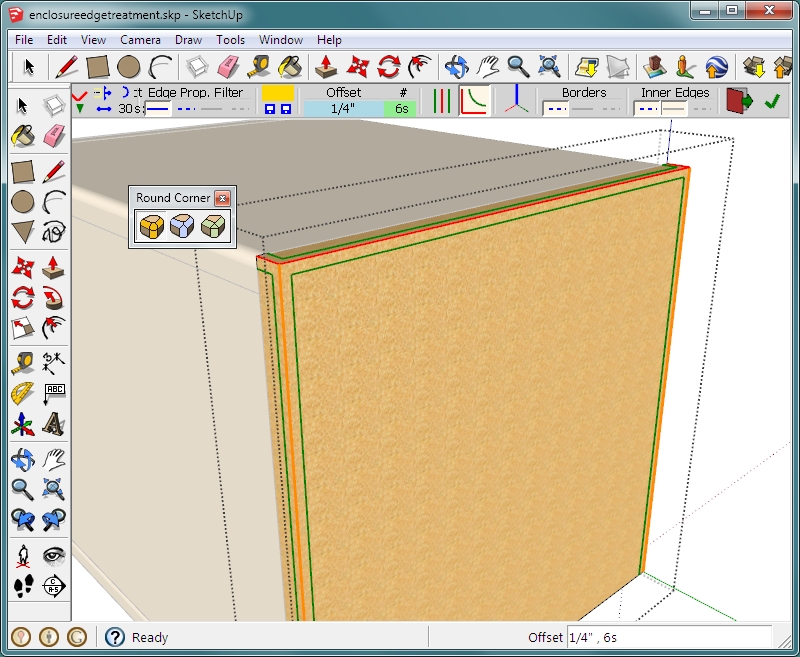
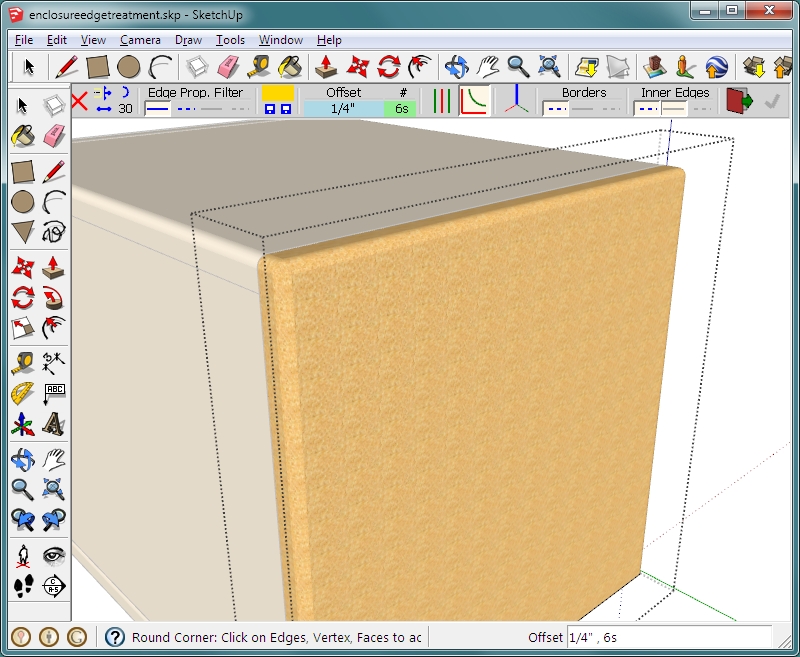
 If you don't have any intersecting arcs, you can use the method above. If you have intersecting arcs, it's more difficult and I'd recommend downloading and installing the RoundCorner plugin for Sketchup. You will also have to download and install one other component for RoundCorner to work. All of the information you need is on THIS page. Let me know if the link goes dead. When you open Sketchup after installing RoundCorner, the toolbox for RoundCorner should be on the screen. If it is not, go to TOOLS >> Fredo6 Collection and choose Round Corner. A new toolbar will open near the top of the window. Set the offset you want. Start with 0.25". open the group or component you want to round. If you select all of the faces, all will be rounded. You only want to round select corners on this enclosure. Let's start with the back. Select only the edges that you see in red below and click the check in the new toolbar (or hit ENTER). The edges will be rounded. Do this for all edges that you want to round.
 This is what the enclosure looks like after rounding all corners. When doing this, you cannot orbit around to click all of the corners. As soon as you try to orbit, all selected edges become de-selected. To allow you to select all edges and to clearly see which are selected (sometimes it selects more than you want), Change the style to WIRE FRAME. You can't orbit but you can use the mouse wheel to zoom in and out to be able to see the extents of the boards well enough to select the desired corners.
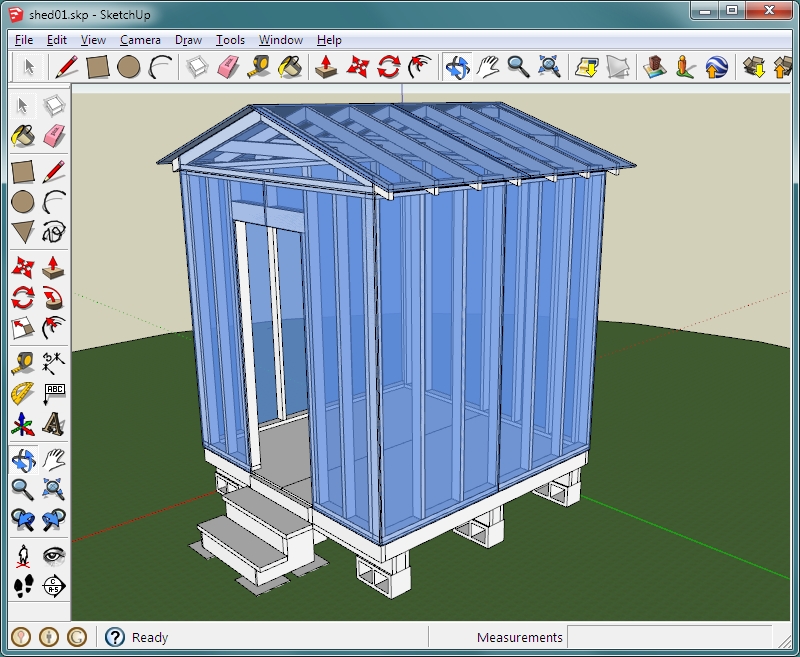
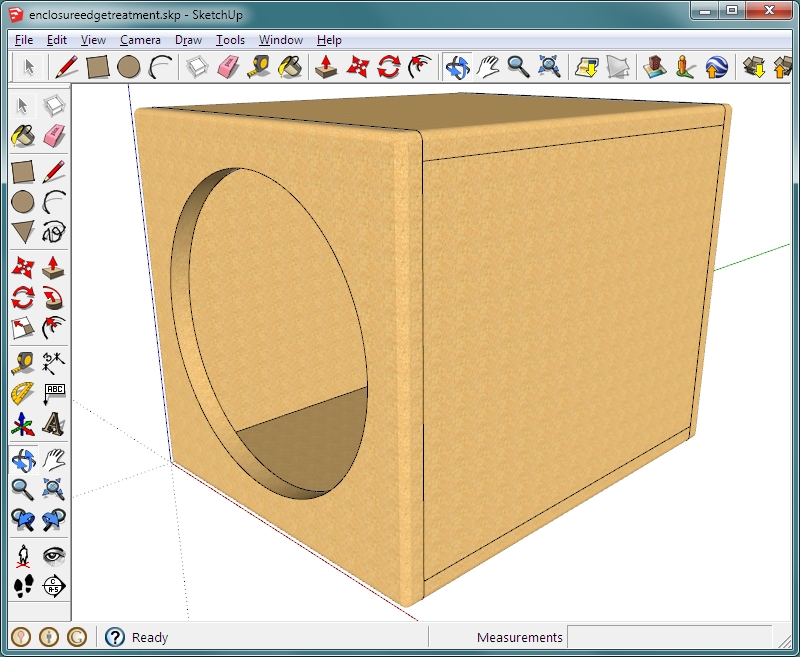 THIS is the Sketchup file for the enclosure with the rounded corners. The speaker enclosures used in this tutorial are very simple but used many of the techniques required to build much larger complex models. The following is one example. When drawing with exact measurements, you can easily see where there are problems before you start to assemble the real thing. In the shed below, you can see how every part fits together. When drawing it, there were several times where things didn't fit as I thought they would have. This model is only an example. You should not attempt to build it. It may blow away with the first breeze, especially since no fasteners were used in the drawing. THIS is the 3D model. You can take it apart of switch to x-ray style to see hidden components.
Feedback:
|
|
|
|
